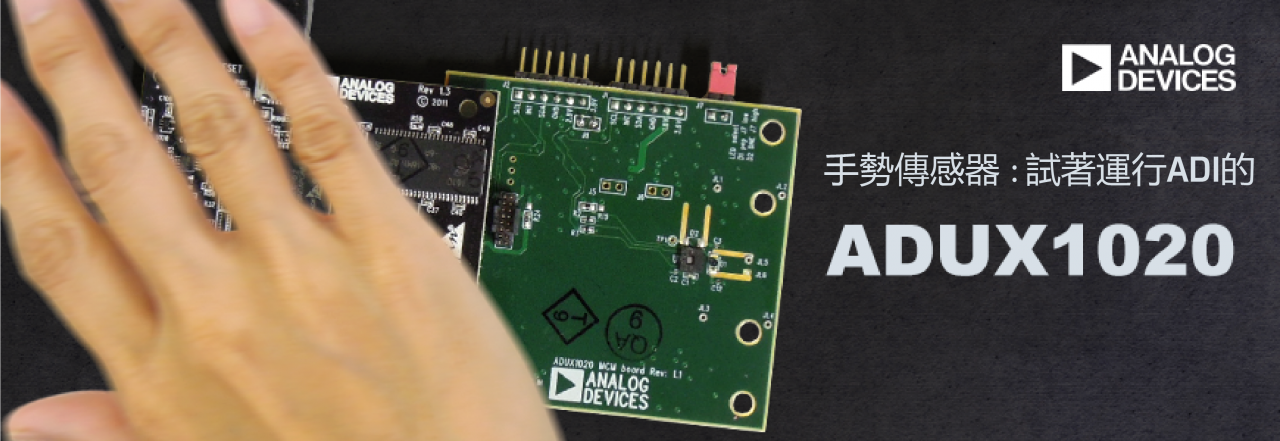
手勢感測器:試著運行ADI的ADUX1020
在這裡我們用ADUX1020的評價板,實際試著運行一下。
從測試板的準備到與PC的連接確認
需要准备以下3项:
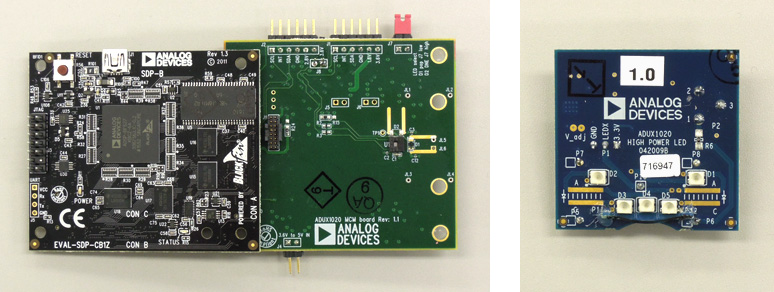
- ADUX1020評價板(ADUX1020-EVAL-SDP)
- 評估軟件(Rev. 1.5.1)
(可從下面的網頁下載)https://www.analog.com/cn/design-center/evaluation-hardware-and-software/evaluation-boards-kits/EVAL-ADUX1020.html - Windows PC ※電源由USB供給
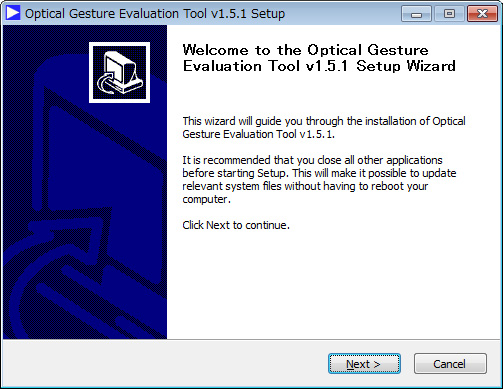
![article-header-library-123777-pic01.jpg](/apac/cytech/zh_tw/products-support/technical-articles/easy-gesture-sensor-run-adi-adux1020/_jcr_content/root/container/container/container/image_1720417194.coreimg.jpeg/1683525634091/article-header-library-123777-pic01.jpeg)
我們先安裝評估軟件。
首先出現了以下的畫面,但是無需任何考慮,只需點擊3~4次,安裝就簡單完成了。
![article-header-library-123777-pic02.jpg](/apac/cytech/zh_tw/products-support/technical-articles/easy-gesture-sensor-run-adi-adux1020/_jcr_content/root/container/container/container/image_2131823041.coreimg.jpeg/1683525703302/article-header-library-123777-pic02.jpeg)
讓我們開始吧!
啟動ADI_OpticalGesture_EvaluationTool,然後通過附送的U盤電纜連接到評估板。
然後按一下" File"→"Connect"→"SDP ASIC Bridge(Debug)",請求安裝驅動程式,然後按要求安裝。
![article-header-library-123777-pic08.jpg](/apac/cytech/zh_tw/products-support/technical-articles/easy-gesture-sensor-run-adi-adux1020/_jcr_content/root/container/container/container/image_869781047.coreimg.jpeg/1683526263193/article-header-library-123777-pic08.jpeg)
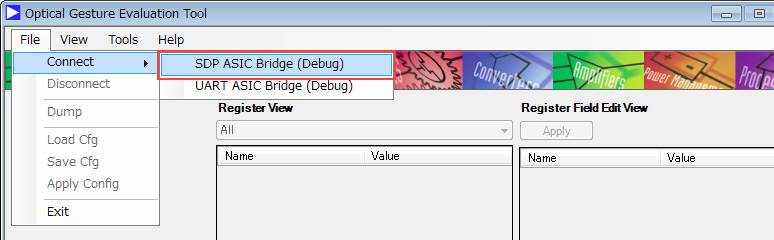
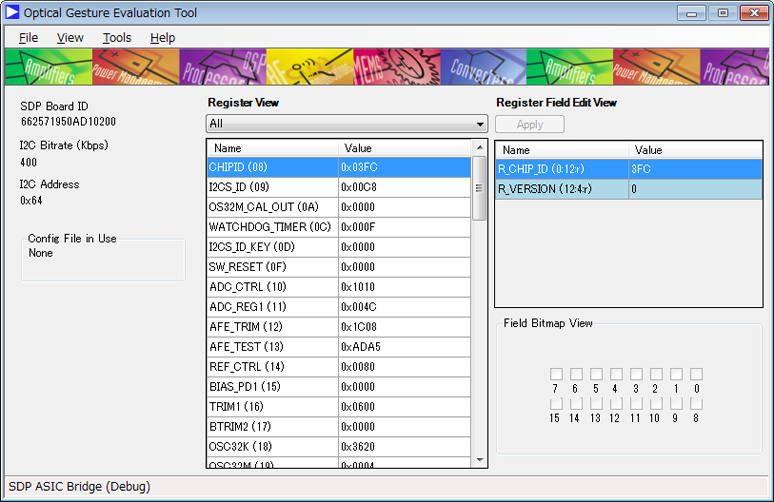
然后再一次,"File"→"Connect"→"SDP ASIC Bridge(Debug)"……連接成功了!
也會顯示出已正確連接的信息。
![article-header-library-123777-pic09.jpg](/apac/cytech/zh_tw/products-support/technical-articles/easy-gesture-sensor-run-adi-adux1020/_jcr_content/root/container/container/container/image_503422336.coreimg.jpeg/1683526360062/article-header-library-123777-pic09.jpeg)
Sometimes the evaluation board has problems with the PC, in that case it is recommended to just simply change the PC.
-Let the ADUX1020 Evaluation Board actually recognize gestures
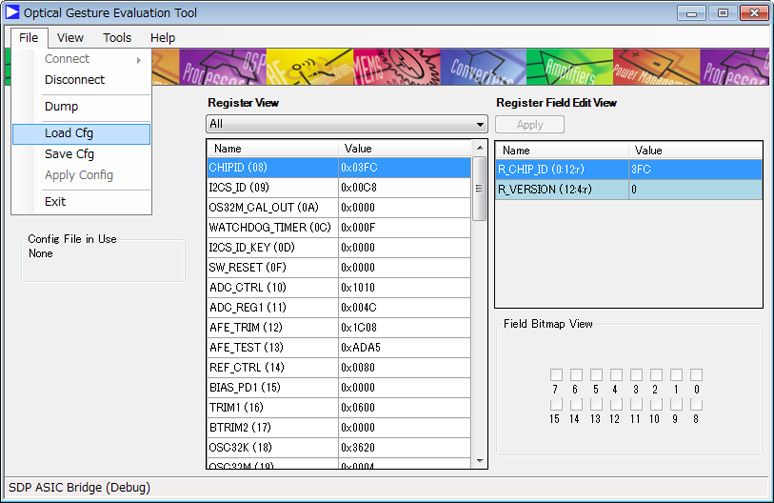
When using in the gesture mode, select "004 _ ADUX1020 _ StandardR 1. dcfg" from "File" → "Load Cfg".
![article-header-library-123777-pic03.jpg](/apac/cytech/zh_tw/products-support/technical-articles/easy-gesture-sensor-run-adi-adux1020/_jcr_content/root/container/container/container/image_1221162189.coreimg.jpeg/1683526425909/article-header-library-123777-pic03.jpeg)
接下来通過"View"→"Off-Chip Analysis and Gesture view"啟動另一個視窗。
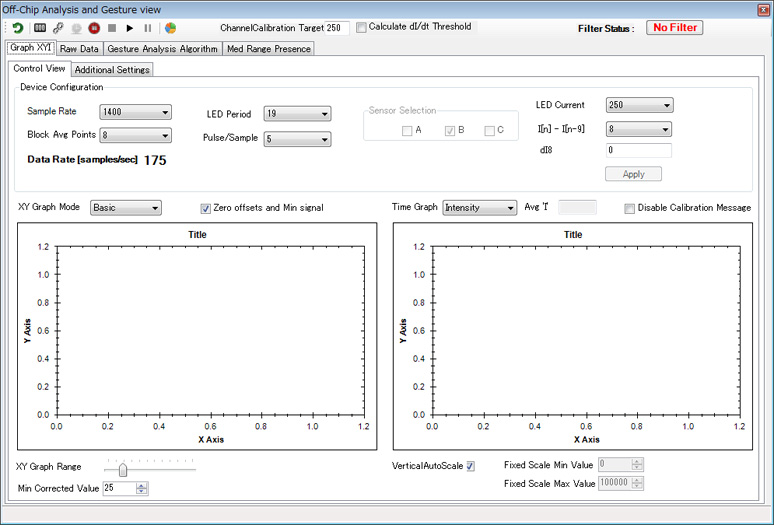
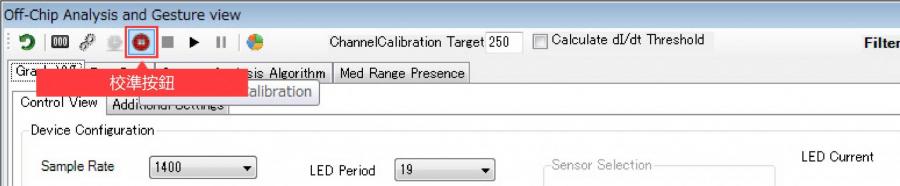
![article-header-library-123777-pic04.jpg](/apac/cytech/zh_tw/products-support/technical-articles/easy-gesture-sensor-run-adi-adux1020/_jcr_content/root/container/container/container/image_811807534.coreimg.jpeg/1683526487398/article-header-library-123777-pic04.jpeg)
- 執行校準
然後按下上面的三角按鈕(Play按鈕), 動作就開始了。
在此之前,不要忘記以下的校準。
![article-header-library-123777-pic05-eng.jpg](/apac/cytech/zh_tw/products-support/technical-articles/easy-gesture-sensor-run-adi-adux1020/_jcr_content/root/container/container/container/image_1347939764.coreimg.jpeg/1683591440043/article-header-library-123777-pic05-tc.jpeg)
- 從各種顯示形式中選擇"LSLF Swipe Determination"
可以通過各種表示形式進行確認,我給您介紹最易懂的。
從"Gesture Analysis Algorithm"選項卡中選擇"LSLF Swipe Determination"。
這樣一來,就會出現以下的畫面,所以試著執行點擊手勢和滑動手勢吧。
用語言表述比較困難, 做從上方向ADUX1020揮手後在10cm左右的地方停止的動作(點擊手勢)的話,正中間的圓會變成藍色,另外在ADUX1020的10cm左右的上方用手橫著移動(滑動手勢)的話,那個方向的箭頭會變成綠色。
![article-header-library-123777-pic06.jpg](/apac/cytech/zh_tw/products-support/technical-articles/easy-gesture-sensor-run-adi-adux1020/_jcr_content/root/container/container/container/image_1608974375.coreimg.jpeg/1683526637033/article-header-library-123777-pic06.jpeg)
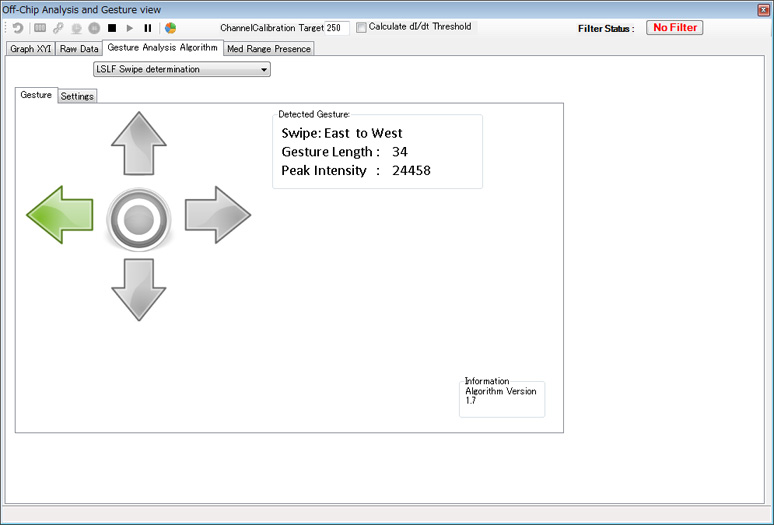
如果是15cm以內的話,好像幾乎可以正確識別。
(如果超過20cm,識別精度就會下降。這可能需要強化LED。)
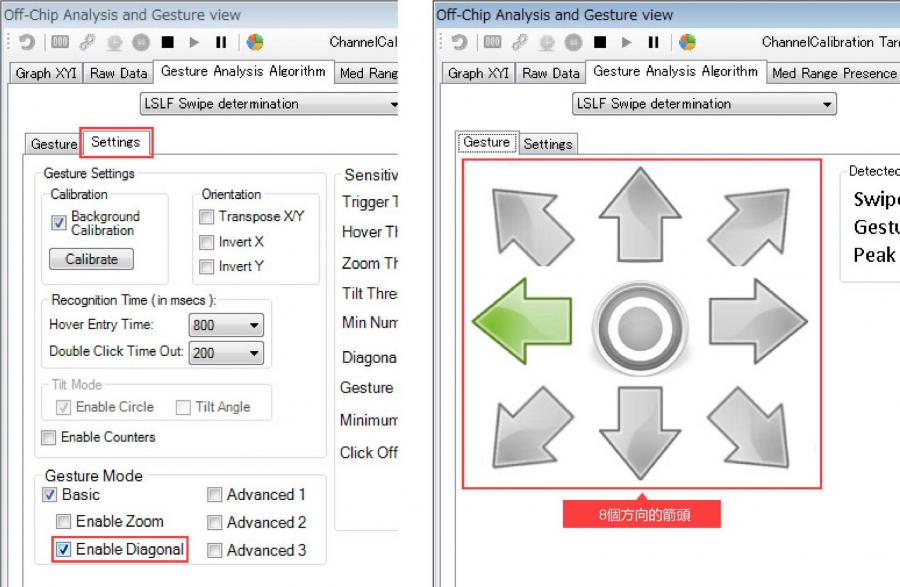
- 更改為8個方向的箭頭
選中"Settings"選項卡的"Enable Diagonal"將使箭頭指向8個方向。
這種情況下,準確地決定手的位置開始移動的話就完全能夠識別, 但是感覺如果移動手的話, 也會發生輕微的誤判。由於人的感覺與手勢感測器的判別結果原本就存在偏差,因此我認為可能還存在與感覺的校準(使用者的習慣)這一模擬要素。
![article-header-library-123777-pic07-tc.jpg](/apac/cytech/zh_tw/products-support/technical-articles/easy-gesture-sensor-run-adi-adux1020/_jcr_content/root/container/container/container/image_1563594128.coreimg.jpeg/1683591451958/article-header-library-123777-pic07-tc.jpeg)
最後
評估工具有各種各樣的顯示模式,另外,ADUX1020本身也有各種各樣的設定,所以需要根據實際的使用環境進行調整,也需要考慮識別的演算法。
用戶手冊可以在工具的「Help」→「Help Topics」中找到。
更多資訊: